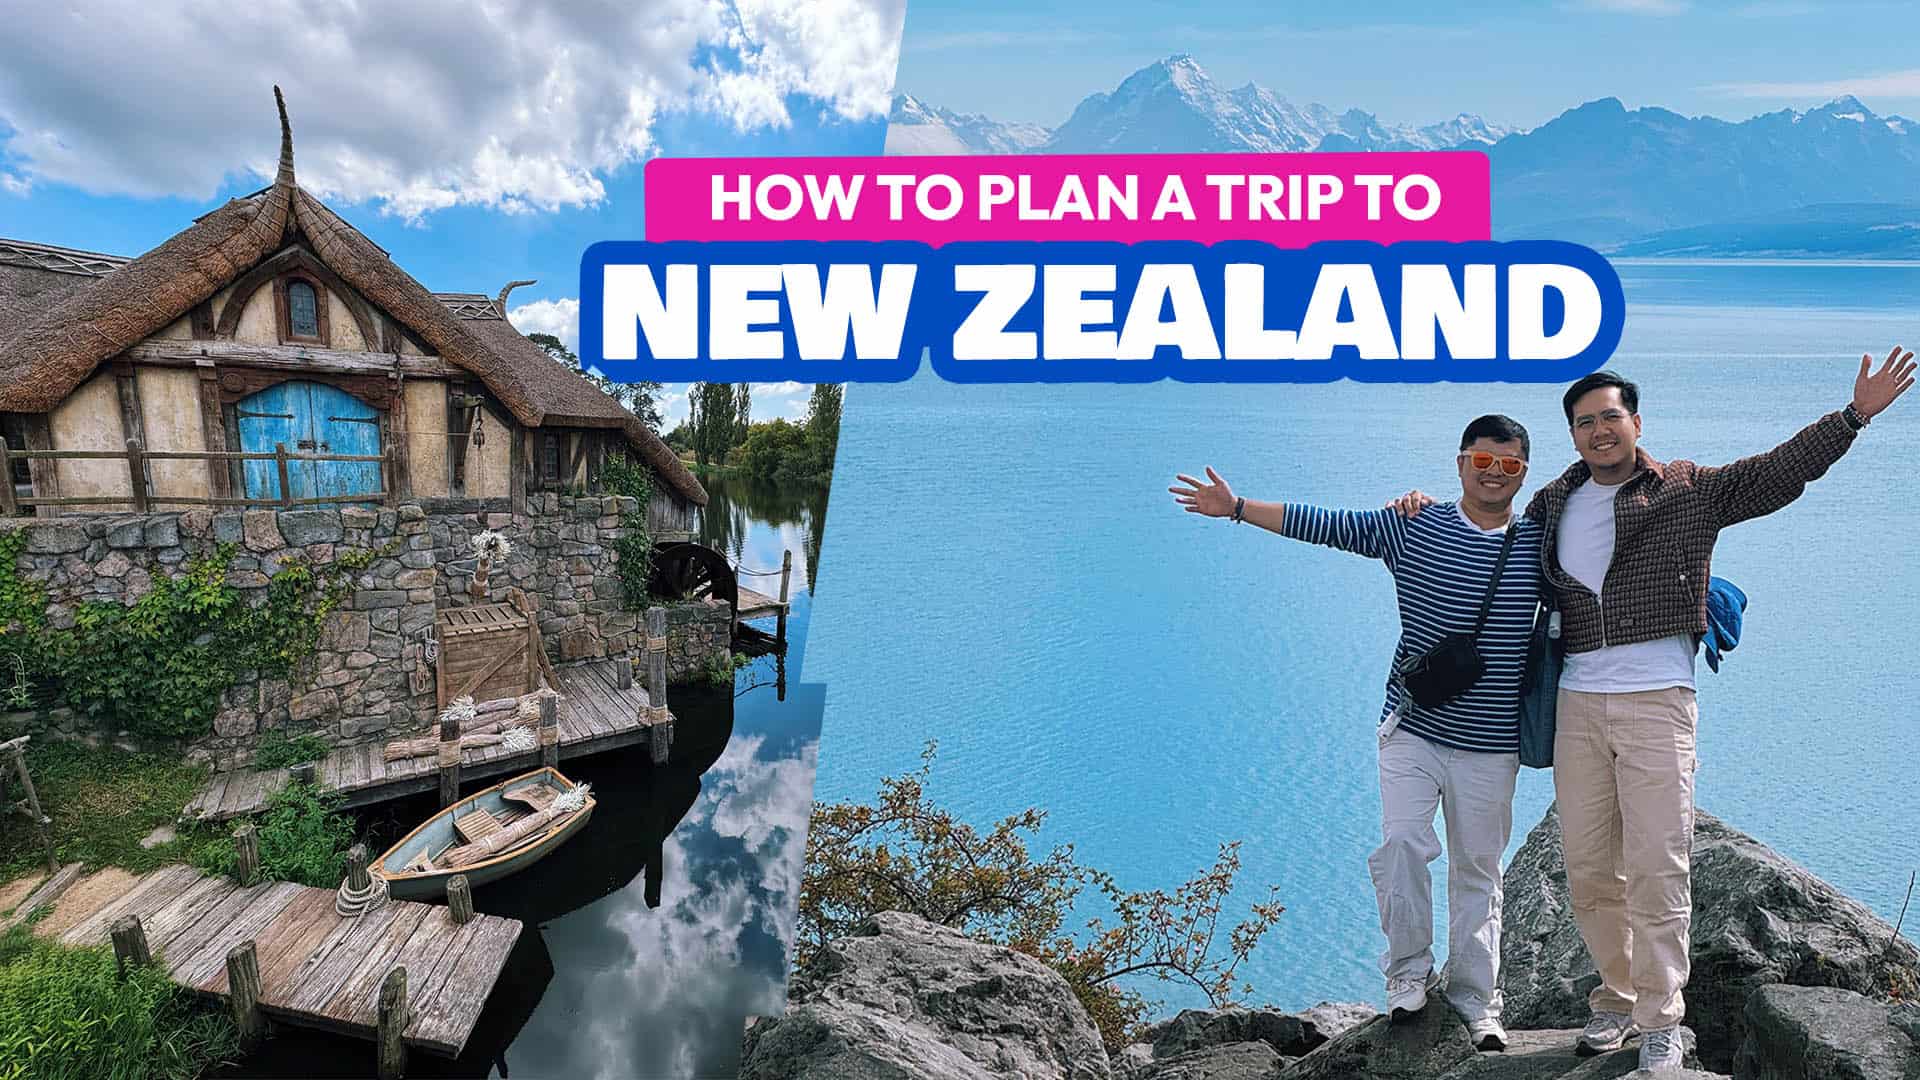
New Zealand. Aotearoa. Middle-Earth. Whatever you wanna call it, one thing is the same: it is a spectacular destination. And for many of us, it is a place we have been dreaming of visiting. But how do you start planning a trip to this real-life fantasyland? In this video, we’ll walk you through the essentials —from timing and transportation to must-visit spots. Because yes, it may be an epic destination, but it also takes a bit of strategy.


WHAT’S COVERED IN THIS GUIDE?
Toggle
Step 1: Decide how long your trip will be.
Size-wise, New Zealand is a bit tricky when seen on the map. It does look like just a couple of droplets in the ocean, especially when the gigantic Australia is in the same frame. But it is not that small. And even if it were, there’s just a lot to see and do. It’s got glaciers, glowworm caves, snow-capped peaks, iconic filming locations, and charming cities. And chances are, you’d want to see them all.
Our first advice is to stay longer. We stayed for 10 days, and it felt really short. Getting to New Zealand is not easy or cheap, so make the most out of it by staying longer and seeing more, especially if you plan on making a stop at multiple cities.
But if you can really allocate a few days, that’s fine, but it’s going to be more challenging unless you’ll be focusing on just one or two destinations.
Step 2: Build your itinerary.
Once you figure out how many days you will be spending in New Zealand, it’s time to start building your itinerary. The first step is to identify what destinations are non-negotiable for you. For example, if you’re a Lord of the Rings fan, I’m sure you will not forgive yourself if you don’t set foot in Hobbiton. Right?
So list them out. In our case, we only had a few: Hobbiton, Christchurch, and Queenstown.
And just by looking at the map, I realized early on that they’re pretty far apart. So from here, we tried to come up with a route that would connect all of these and can realistically be enjoyed in 10 days.
From the get-go, we knew our entry point would be Auckland. As New Zealand’s largest city, it has the country’s biggest airport and is the most usual jumpoff point to Hobbiton. But instead of going back to Auckland, we decided to stay for a couple of days to Rotorua, since it is also a popular tourist destination.
Rotorua has an airport, which serves direct flights to Christchurch, so we opted to fly for this leg. But from Christchurch to Queenstown, we wanted to travel by land so we could admire the landscapes along the way. So we’ll only be booking four hotels, one each in Auckland, Rotorua, Christchurch, and Queenstown.
But as we continued researching, we realized that we could also visit other attractions. For example, from Christchurch to Queenstown, instead of booking a direct bus, we discovered that there are one-way tours on Klook. One-way because it will pick you up in Christchurch, make several extended stops at tourist spots along the way including Lake Tekapo and the areas close to Mt. Cook, and then drop you off in Queenstown. It’s like a bus transfer and group tour in one!
On Klook, they have Christchurch to Queenstown and Queenstown to Christchurch via Lake Tekapo and Mt. Cook, and Auckland to Rotorua via Hobbiton.
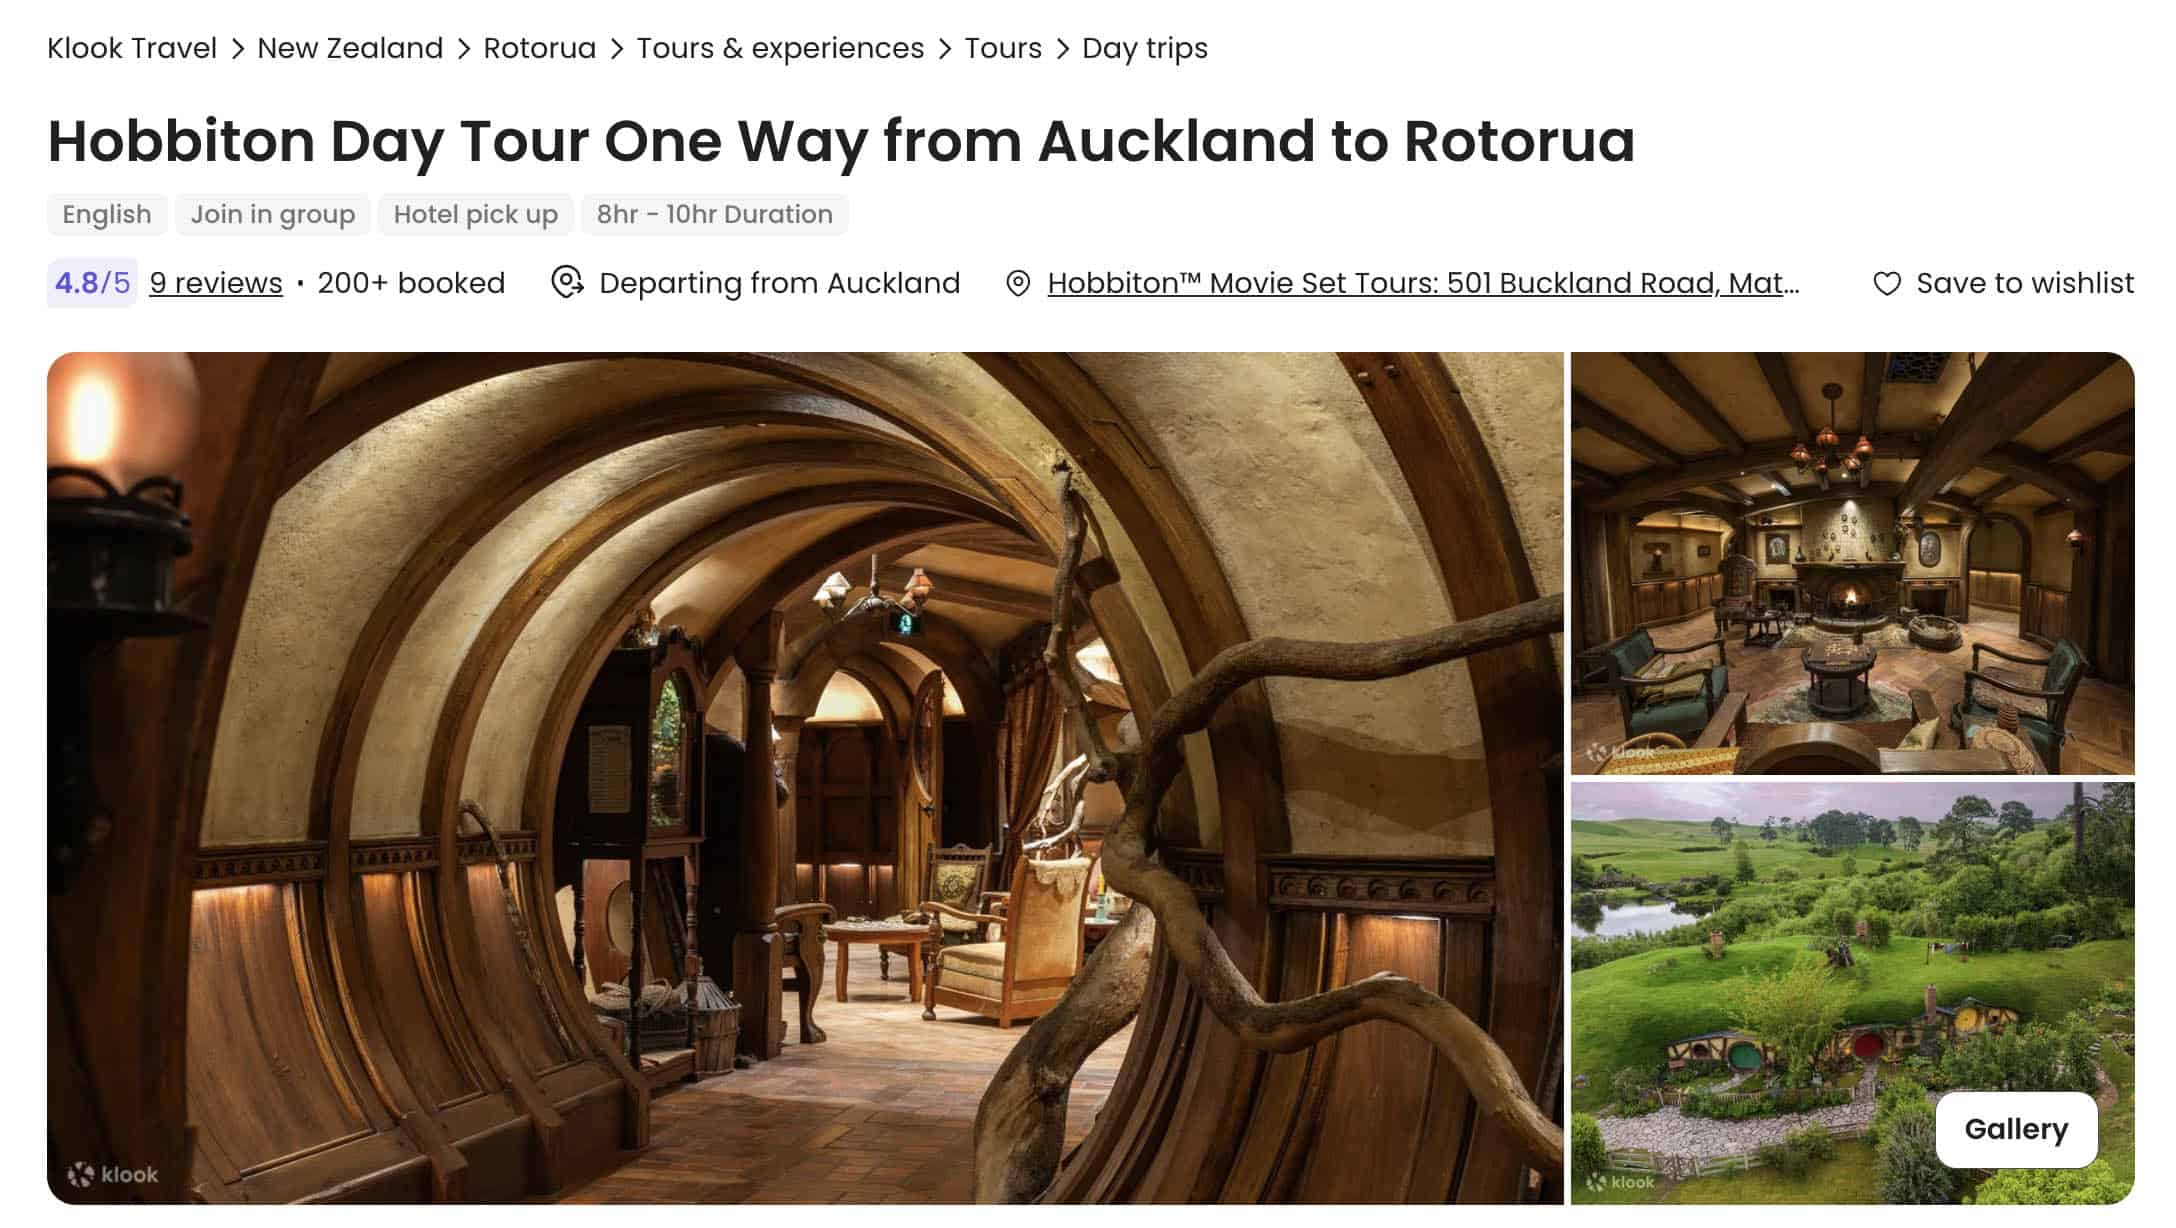
Auckland to Rotorua via Hobbiton
Christchurch to Queenstown via Mt. Cook & Lake Tekapo
Queenstown to Christchurch via Mt. Cook & Lake Tekapo
Step 3: Figure out transportation.
One thing that became apparent early on while researching for this trip was that public transportation options between cities in New Zealand were quite limited. This is why, many online publications will tell you that the best way to get around is by renting a car or a campervan.
I agree. By driving, not only do you have total control of your time, you also don’t get restricted by rigid bus or tour schedules. But before you lock it in, make sure you have a valid driver’s license and that you’re confident driving on the left side of the road.
But if you’re traveling alone or a couple, you might end up spending more. It’s more ideal if you’re part of a group so you have companions to split the cost with.
If driving is out of the picture for whatever reason, you can take InterCity Buses. But again, know that departures are few and far between. For example, from Auckland to Rotorua, there are only a handful of journeys available. But you can totally make it work if you plan your trip well.
Another option is by joining the one-way tours that I mentioned in the previous section of this video.
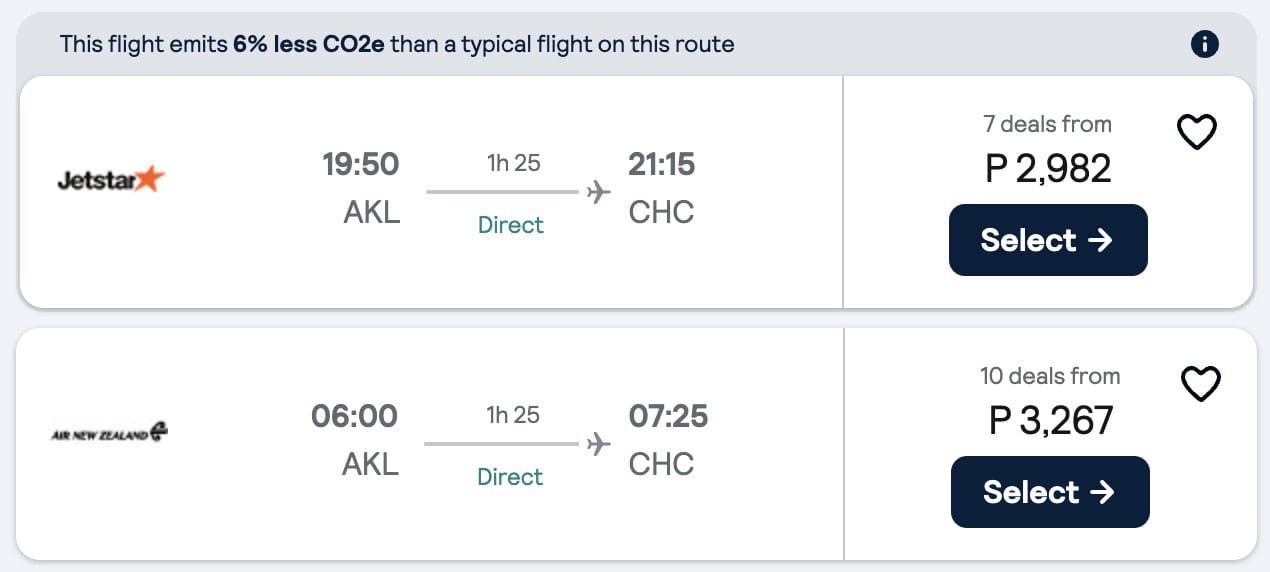
You can also fly. Domestic flights in New Zealand are delightfully inexpensive, so don’t count them out just yet. For example, when we flew from Auckland to Christchurch, we only paid around 108 NZD (P3640) per person.
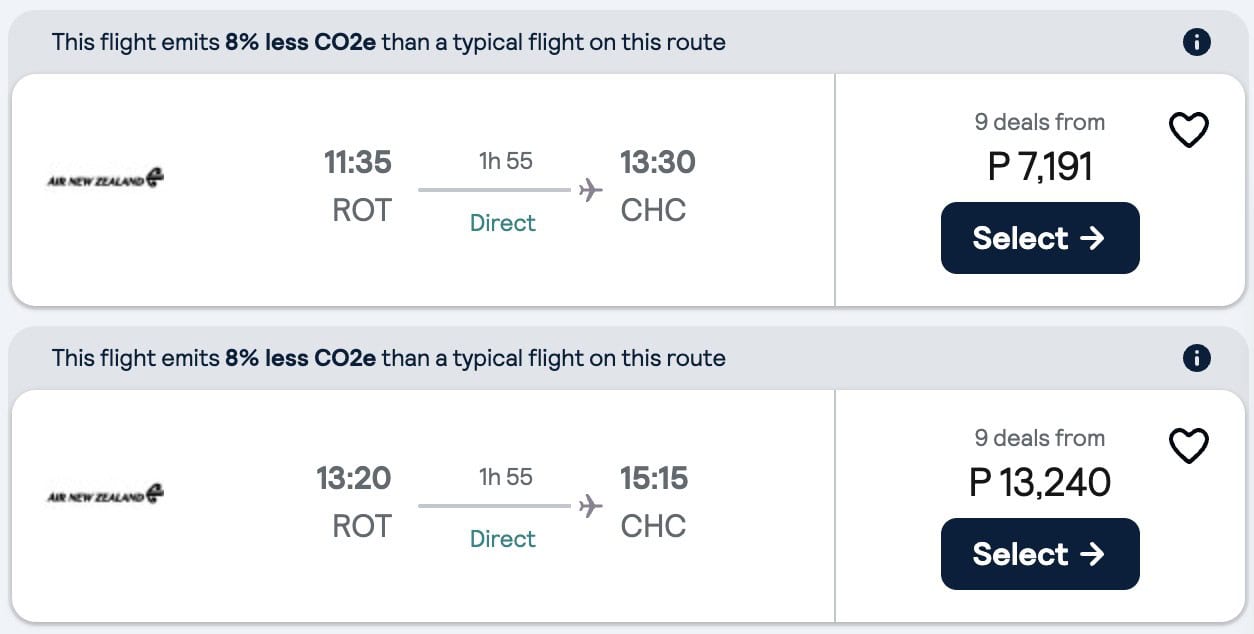
Originally we wanted to fly straight from Rotorua Airport to Christchurch, but this route was twice or thrice more expensive so we decided to travel back to Auckland Airport instead.
Speaking of flights…
Step 4: Compare flight prices.
New Zealand is pretty remote, so it’s no surprise that flights going there are expensive. Its national flag carrier is Air New Zealand, which has direct flights to and from Taipei, Singapore, Hong Kong, Tokyo, Shanghai, Vancouver and various cities across Australia, the United States, and the Pacific. Other airlines like Qantas, Jetstar, China Airlines, Cathay Pacific, Singapore Air, Qatar Airways and Emirates fly to New Zealand too. So do a number of American and Chinese carriers.
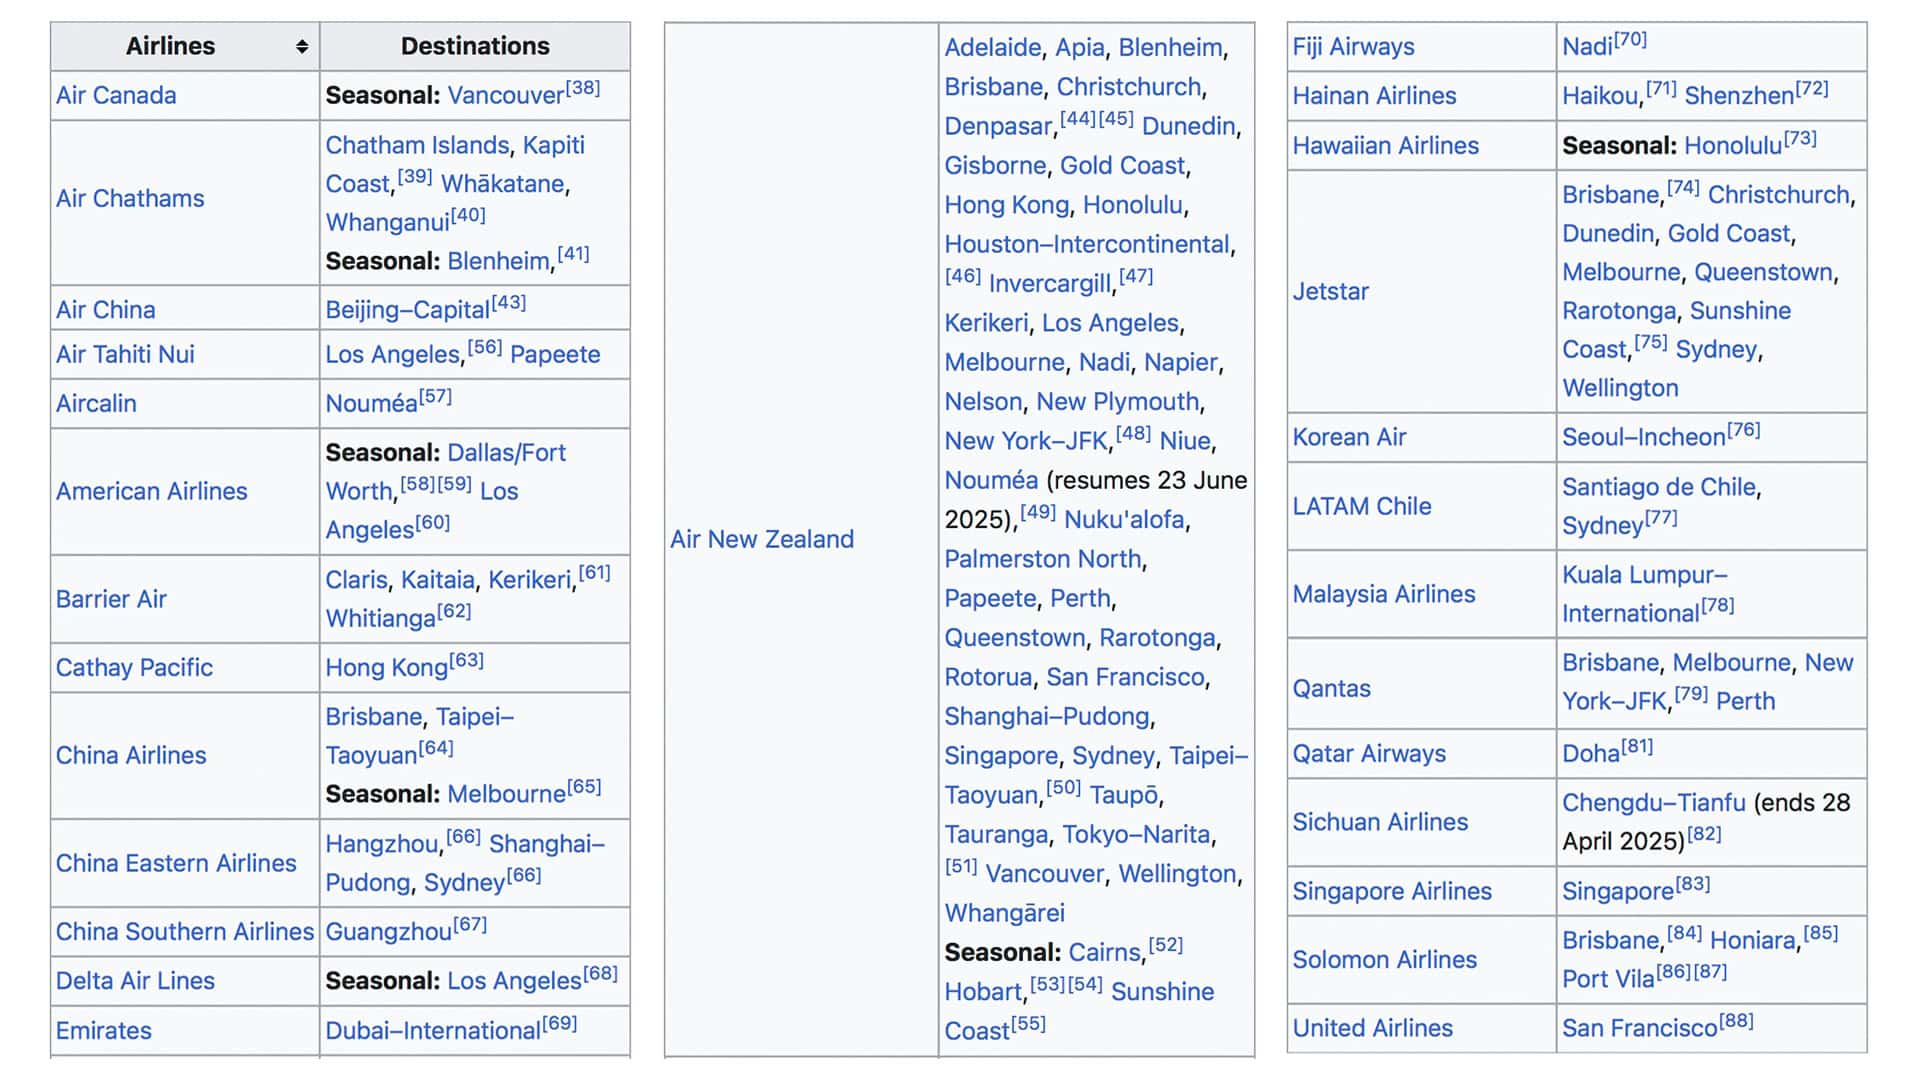 Via Wikipedia
We’re based in the Philippines and there are no direct flights available. Philippine Airlines used to offer direct Manila to Auckland flights, but that route has been discontinued. So we had to connect elsewhere. But this trip is part of our greater Australia-New Zealand trip so we flew from Melbourne.
COMPARE FLIGHTS HERE TOO!
If you book in advance, a roundtrip flight from Manila usually costs PHP 40,000 to 50,000 in off-peak season and around PHP 60,000 in peak season.
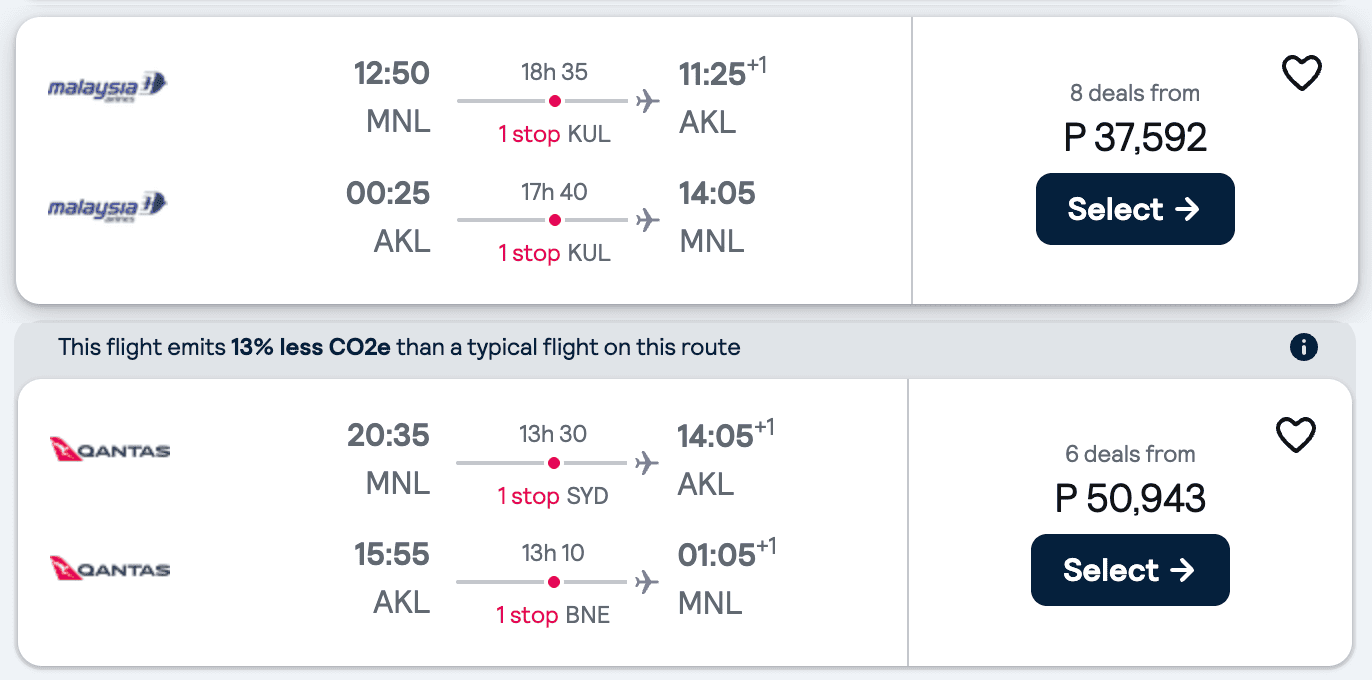 Manila-Auckland Flights in OFF-PEAK season
 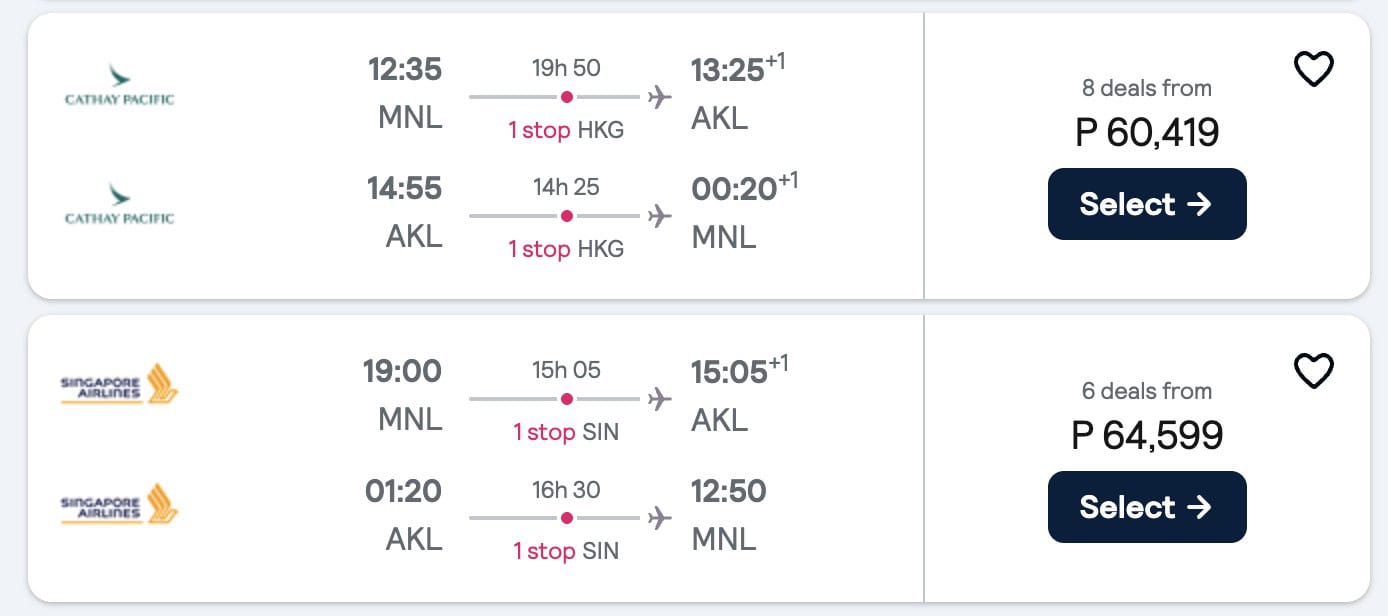 Manila-Auckland Flights in PEAK season
As much as possible, try to book both legs of the journey with the same airline or at least airlines with code-share agreements, so you won’t need to clear immigration at your layover airport and pick up and check in your bags again. Especially if you’re connecting in Australia, which will require you to obtain a Transit Visa first.
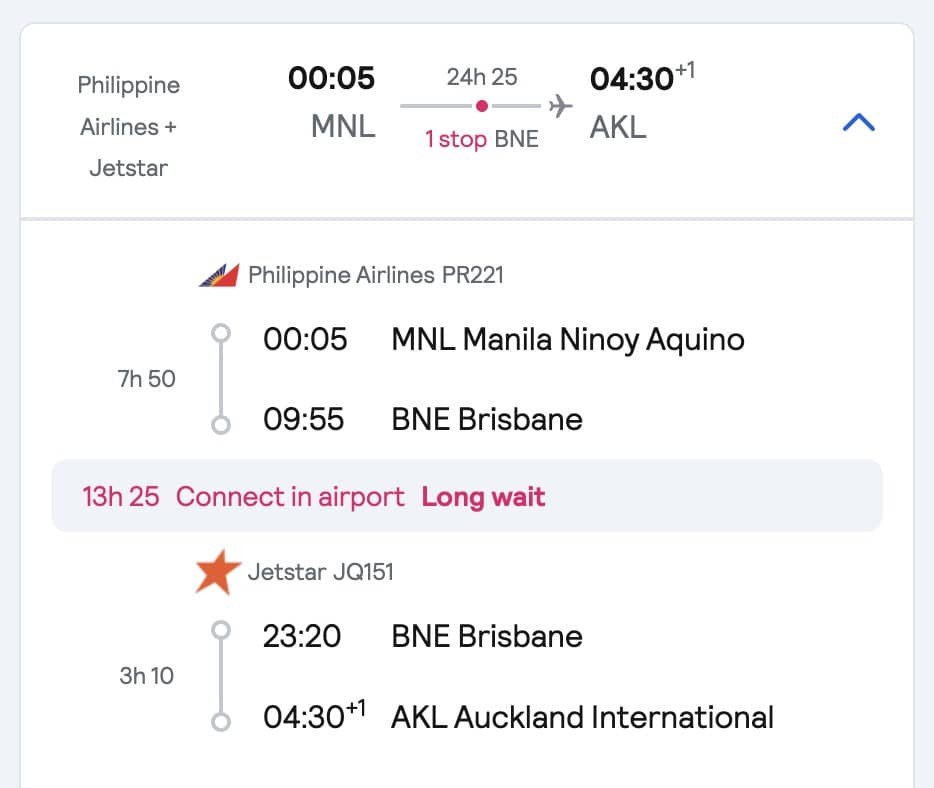 In this sample booking, you will need an Australian Transit Visa.
Anyway, if you see fares and arrangements that you like, don’t book just yet. Just compare and canvas. Don’t finalize anything.
Step 5: Check accommodation options.
Another thing you need to consider is accommodations. The good news is, most New Zealand city or town centers are not that big. Even Auckland, which is the country’s largest city, isn’t as bustling and is actually quite chill compared to other big cities in other countries. So in theory, as long as you’re within the city center or town center, you should be fine.
But one thing you need to be prepared for is the cost. While planning our trip, we quickly realized that accommodation rates in New Zealand are quite steep especially in the summer months.
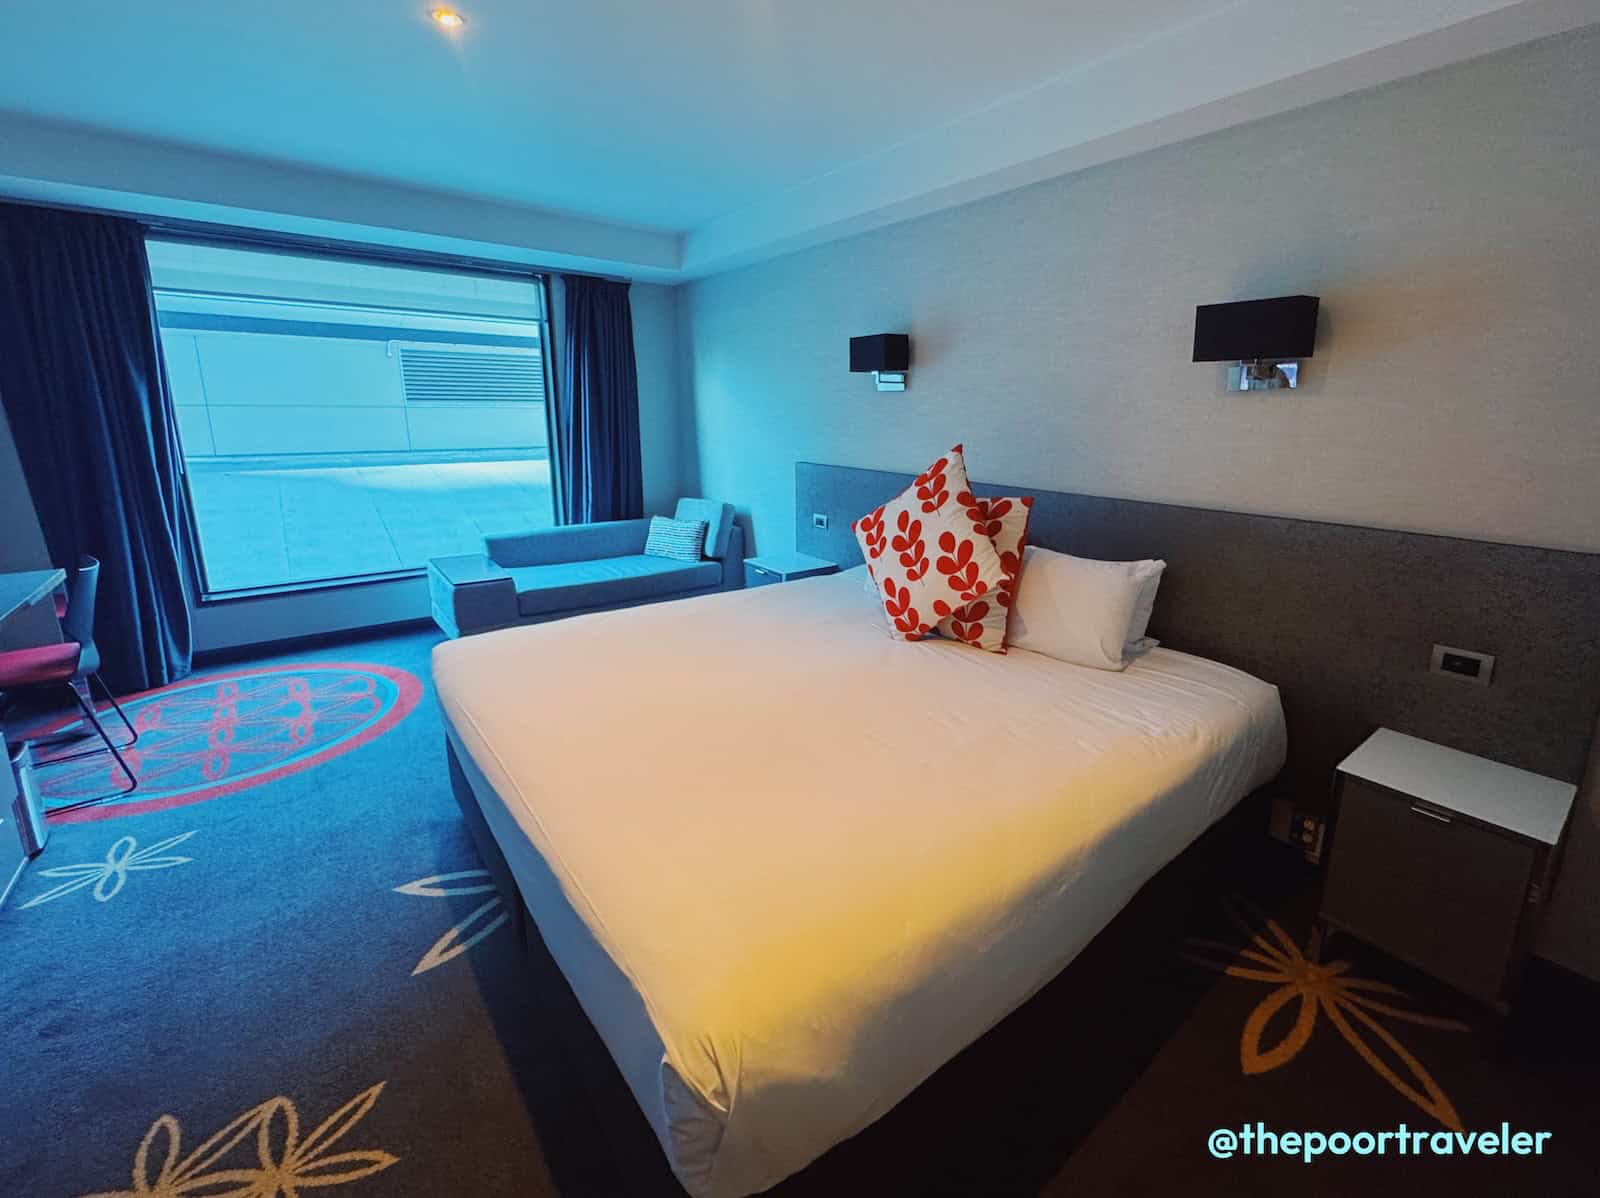 SkyCity Hotel Auckland
- In Auckland, we booked a room at SkyCity, which is just next to the Sky Tower, Auckland’s most iconic landmark. We paid around NZD 170 (P5740) per night. Great location, and the Sky Drive, which is the airport bus terminates just around the corner. Check Rates & Availability!
- In Rotorua, we stayed at Rock Solid Backpackers, a hostel right in the city center within walking distance of major attractions. It was just a fan room, but New Zealand summers are pretty mild so we didn’t mind. It’s equipped with all the basic amenities, a TV, a table, toiletries, and all. And yes, it has an ensuite toilet and bath. We paid USD 87 (NZD 147, PHP 4950) per night. Yes, for a fan room. That’s how expensive rooms are here. Check Rates & Availability!
- In Christchurch, we booked a private room at Haka House, which I think is also classified as a hostel, but it didn’t feel like it at all. It was newly renovated and our room had ensuite toilet and bath and everything was squeaky clean, so it felt like we were staying at a boutique hotel. Awesome location, too, close to most points of interest including the Botanical Garden and Riverside Market. They had no elevator though, so it can be challenging if you have heavy luggage. This room set us back NZD 183 (USD 109, PHP 6145) per night. Check Rates & Availability!
- But Queenstown was the priciest of them all. We stayed at another hostel called BLACK SHEEP Backpackers Hostel, in a fan room without its own toilet and shower. The place was neat and nice, and it’s not too far from the center of the action, but we shelled out NZD 215 (USD 128, PHP 7240) per night for this. And this was the cheapest that we found even if we booked this way in advance. Check Rates & Availability!
By the way, you don’t need to memorize all these details. We compiled all the NEW ZEALAND TRAVEL ESSENTIALS including a list of all the hotels and hostels we tried in the TPT Masterlist. Just visit and scroll until you see the section about New Zealand. We also have a compilation for other destinations around the world. Check Rates & Availability!
So yeah, New Zealand lodging is super expensive. Just keep it in mind when budgeting for your trip. That’s probably why some travelers choose to just rent a campervan.
Anyway, just like with flights and transpo, don’t commit to your hotel booking yet. Instead, choose properties that offer FREE CANCELLATION. Both Klook and Agoda have these options.
- If you book with Klook, please use our promo code THEPOORTRAVELERKLOOK for up to P300 OFF or TPTKLOOK5 for up to P500 OFF. These codes might change in the future so best to just visit thepoortraveler.net/klook to redeem updated discount codes!
- If you prefer AGODA, use our promo code AGODATPT for 10% discount.
Whatever you choose, make sure it’s FREE CANCELLATION because there’s one crucial thing that you need to take care of first before you make any booking final…
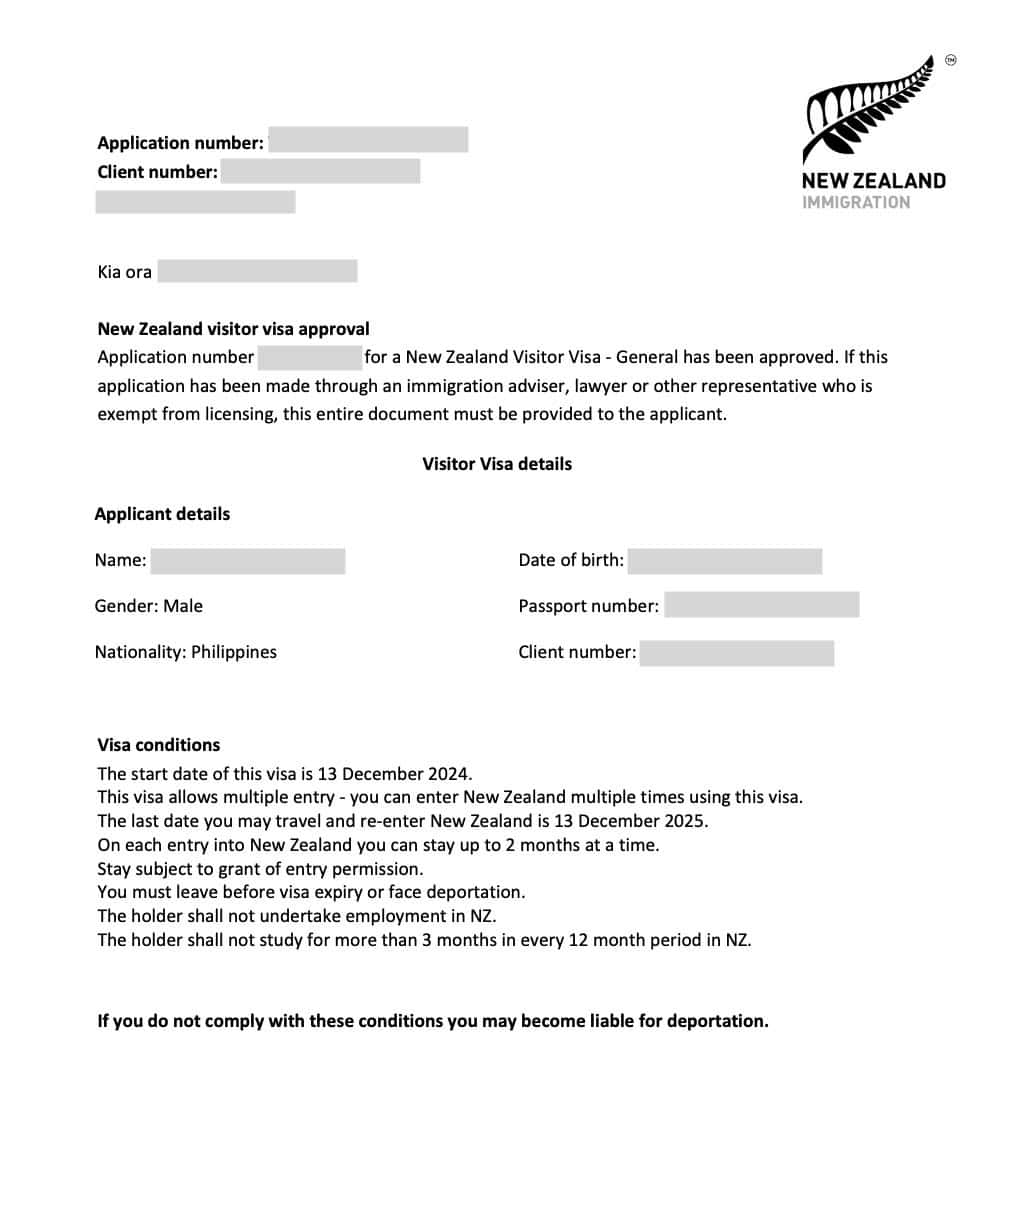
Step 6: Apply for a New Zealand visa.
You might be wondering why I’m bringing up the visa just now. Well, 2 reasons:
First, a New Zealand visa isn’t cheap. It costs NZD 100 (PHP 3300), as of this writing. And it’s usually valid for just 1 year. It’s not like the US or Canada visas which can give you up to 10 years. No, just 1 year. So if you’re not yet 100% certain that you’re New Zealand-bound, don’t apply. You’ll just be wasting money if you end up not using it.
Also, before you start the visa application process, it’s best that you have a strong grasp of your travel plans. When applying for a New Zealand visa, you’ll be asked for your travel dates and hotel addresses, and you can even submit a detailed day-to-day itinerary to bolster your case. Having a solid travel plan will greatly increase your chances of approval. You can also upload your hotel bookings as supporting documents, although it’s optional.
I’m not going to delve deeper into the process because we have discussed it in detail in our comprehensive NEW ZEALAND VISA GUIDE!
If you prefer it in Tagalog or Filipino, just watch this video.
According to the official New Zealand Immigration website, visa processing usually takes 4 weeks or 1 month. I got mine after only 2 days but don’t count on it. It’s always best to apply at least 2 months before your target departure date.
Step 7: Finalize all your bookings.
Once you’re granted a visa, finalize all your bookings! Book those flights, tours, transfers, and other stuff that you were eyeing. Or if things change, adjust accordingly.
Again these are all the promo codes that you can use. We have discounts for hotels, tours, and eSIM for internet connection. We even have special rates for travel insurance, exclusive for TPT subscribers.

Make sure to also accomplish and submit the New Zealand Traveller Declaration Form within 24 hours before your departure flight. It has to be in their system by the time you arrive in New Zealand.
That’s all for now. Remember, plan smart, travel safe, and make every trip WORTH IT!